Hello Lovelies!
Today I've a slightly different post for you - How to change the brake pads on a motorbike! Specifically this is a how to on my bike a 95 CBR600F, but it's very similar on most bikes and really isn't that hard to do!
If you've never done this before a Hayne's manual/someone who knows what they are doing is going to come in very handy! Haynes manuals are especially useful as it'll have the torque settings. You'll also need a pair of brake pads for each calliper on the bike - I got mine direct from Honda for £50.00 for both sets, a screw driver (check what screws you have on your bike), allen keys, brake cleaner (Make sure it's suitable for use on all brake parts), piston tool, nylon brush, brass brush, spray copper grease and red rubber grease. We also used a sonic cleaner but it is possible to clean everything by hand, but it's way easier to use a sonic cleaner - and handily my husband had one from when he'd changed the brake pads on his bike.
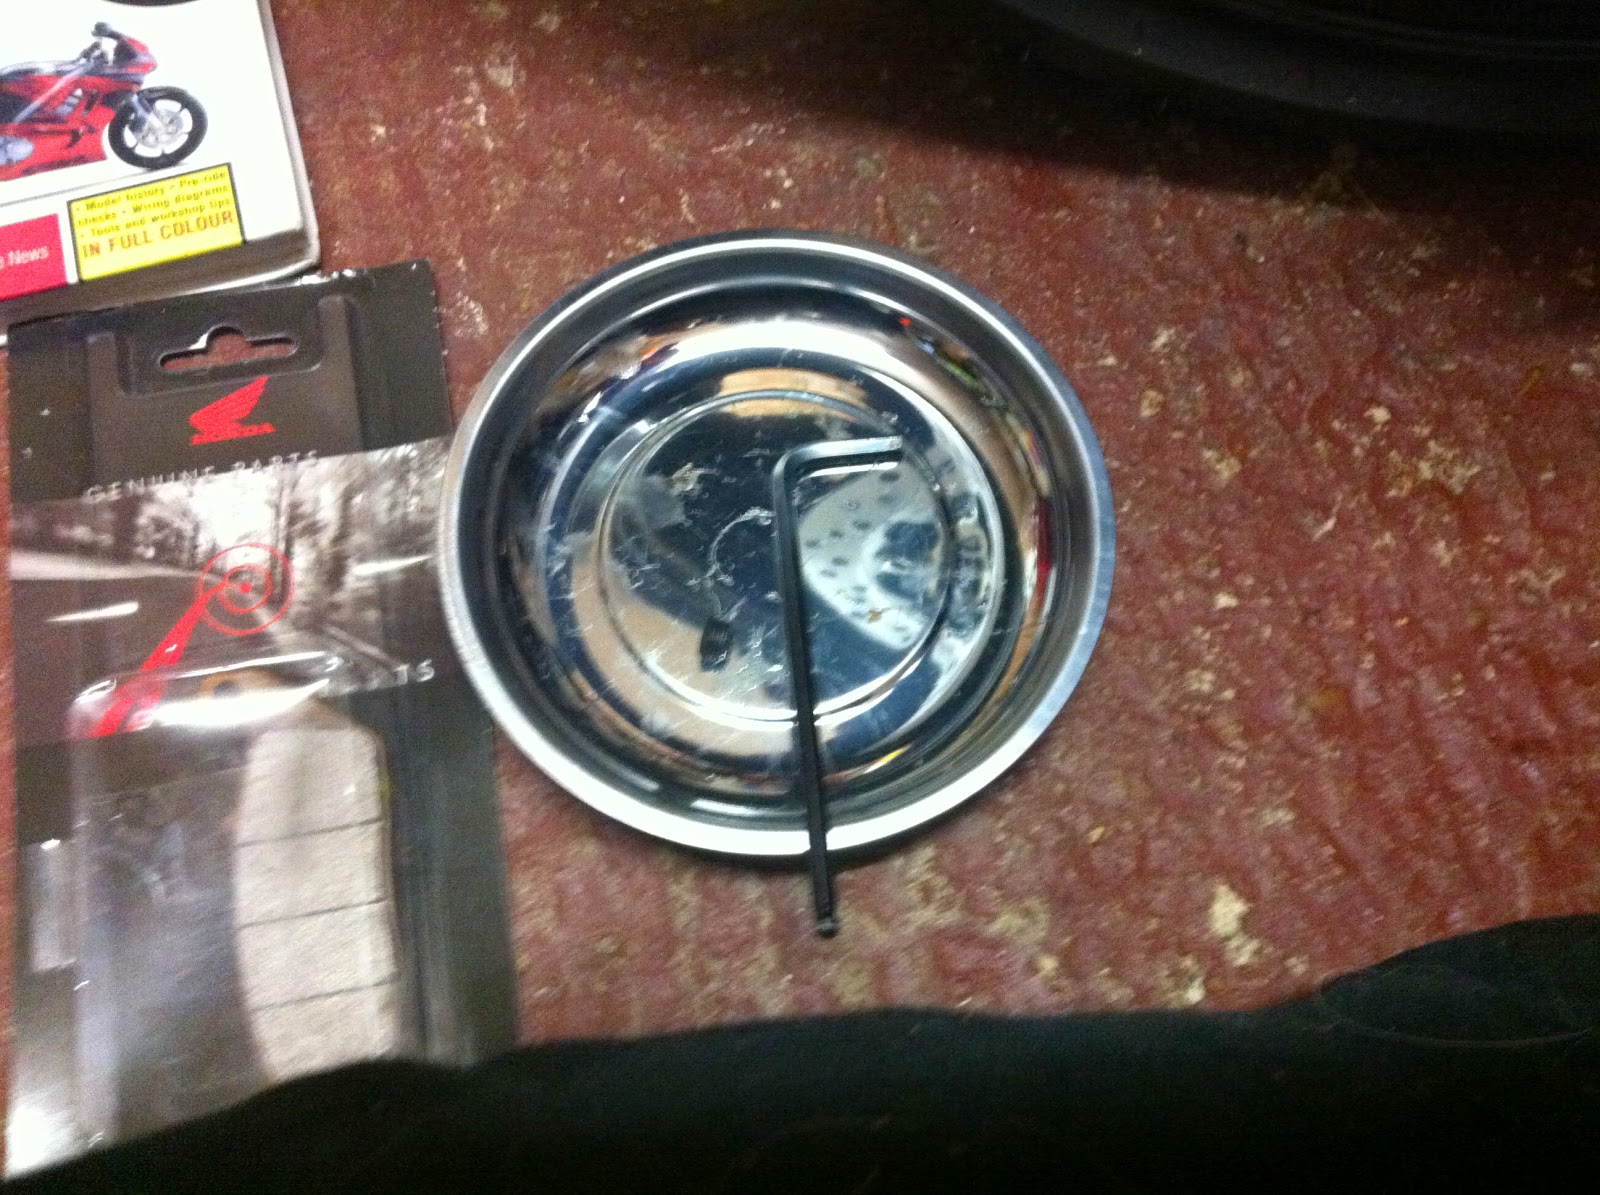
I'd also recommend one of these handy little dishes - it's magnetic so if you knock it over you won't loose all your screws! (Which, if you're me, you'll knock over a lot!)
Lastly, I did start off with rubber gloves, with the intention of not getting mega grubby (these brake callipers were filthy)/ covered in brake cleaner and grease. By the time I got to the second calliper I gave up with that idea and just went with it!
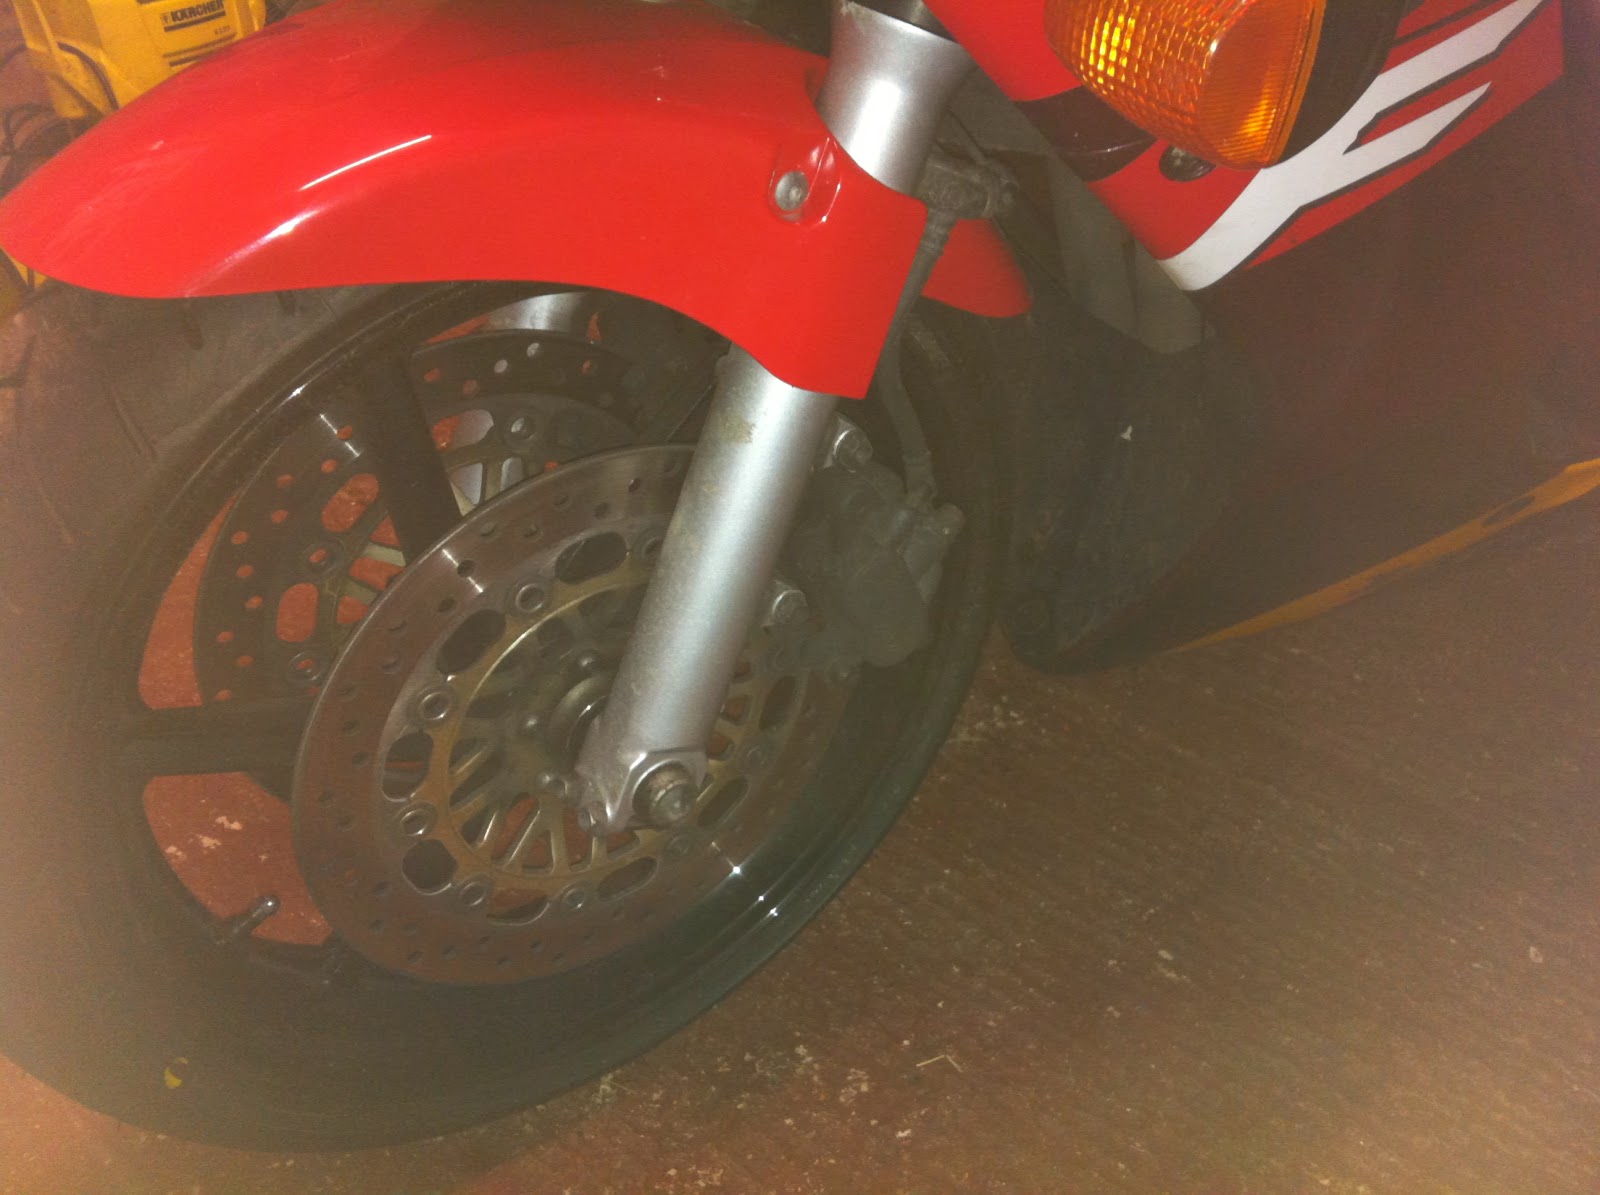
The first thing to do is remove the pinch bolt that holds the calliper in place over the brake disk, mine came away pretty easy with a screwdriver.
Underneath this is another bolt that you need to withdraw using an allen key - at some point you'll find its not coming out any further by turning the key and you should be able to remove it with your fingers to withdraw the entire pin.
Next, carefully remove the screws that hold the brake calliper, you should then be able to lift the entire unit off of the brake disk - do this very gently else you run the risk of scratching your disk or wheel. Make sure you keep the calliper supported as letting it hang can damage the hose.
Remove the old brake pads and disguard them - you'll also want to remove the top of the calliper and the two clips that keep the pads in place.
Either put everything in the sonic cleaner or clean the items by hand using the brake cleaner and a nylon brush.
The next step step is to clean the calliper - spray this generously and scrub with the nylon brush, once you've done this - you'll then want to clean the pistons - to get the pistons to come out place the piston tool in between the pistons and the side of the calliper, fully shut, then pump the brake leaver to get the pistons to move out - stop before it becomes too tight to remove the tool. Give these a really good clean with the nylon brush and use the brass brush if there are any stubborn marks to get these clean. Coat the outside of the pistons with a thin layer of red rubber grease and use the piston tool to push them back into the calliper.
By this point the remaining parts should be clean, lay them out on some clean sheets of kitchen towel. Remove the new brake pads from the packets and lay these down also being careful not to touch the fronts of the pads.
Next spray everything with the copper grease - be very careful NOT to get this on the front of the brake pads.
Next replace the clips, and carefully pop in the brake pads. Replace the top of the calliper and reinsert the retaining pin through. Pop the calliper back over the brake disk carefully and re-attach the bolts - you will need to do these hand tight then use a torque wrench to get the right tightness (check Hayne's manual for torque settings). Replace the pinch bolt and do this up as well. Lastly pump the front brake to push out the pistons and check everything is working as it should do! You can then repeat this process for the other side.
Lastly you can admire the awesome shade of soot you've accumulated on your hands/arms/face during the entire process!
Once you've finished changing both I suggest you check everything is working as it should do with a very gentle ride up and down the road - and remember the new pads will need to bed in so don't go crazy with them!
Ta-ta for now
X