

I recently had a request for a birthday cake from a co-worker. She'd seen a picture of a duck pond cake that she liked (That co-incidentally my youngest sister had made.) I knew roughly how the duck pond cake had been made but not what kind of cake it actually was, just that it had been made with green jelly and had real cream and coconut in the frosting, something that I have never tried before and as this was the first time I'd made a cake that work friends would be eating, I wanted to get it right first time and I didn't want it to be an exact copy of my sisters!
So to make your own Forest Birthday cake you will need:-
Special Tools
- A bundt Tin (Not essential but works better than scooping out the middle of a round cake!)
- Rolling pin
Ingredients
- Cake batter (I am not going to list what cake mix to use, you can use store bought or your own, it all depends on your own tastes!)
- 1 Block of Royal icing (You can make your own if you are feeling adventurous!)
- 1 Block of Butter (Room temperature)
- Milk
- Medium box of icing sugar
- 1 Packet of lime jelly
- Jam (Which ever you like best!)
- Food colouring (1x Blue, Yellow, Green and Orange)
- Tube of black writing icing (Again you can make your own and use a piping bag)
- 1 Packet of Wafer daisies (Depending on how much time/skill you have you can make your own flowers)
Optional
- Flavouring
Method:
The day before you need to make your cake, you will need to make-up the lime jelly so it will be set in time. The reason I used lime jelly is that it was the only one available here that I could add blue food colouring too, with out it going a bizarre colour! So if you have access to already blue jelly go ahead and use it!
- Make up the jelly according to the instructions, add a few drops of blue food colouring, till it's at a nice shade of blue, don't go too mad with the food colouring as it will affect the taste if you put too much in! Pour it into a box/mold to allow to cool - once cool enough pop in the fridge over night!
I found it easiest to make the swans, ducks and rabbits the day before as this gave the icing time to harden off a little, so that the swans wouldn't loose the shape of their neck!

Icing Animals

- Using the royal icing pull off a small chunk and roll into a fat oblong shape, from this roll one end between your thumb and finger and pull gently to create the swans neck.
- On the other end pinch and push up to create it's tail.
- Roll out a thin layer of the white icing and cut out two swan wings. Dampen the back of the wing with water and carefully stick to the swan body.
- Colour another piece of icing orange and cut a beak from this.
- Using the black piping icing mark out the eyes and the part that goes behind the beak.
- Carefully push the beak into the black piping icing and allow to dry.
Ducks
- Colour a section of icing yellow, and another orange.
- Take a lump of the yellow and create an small round oval.
- Take a second, smaller piece, about a 1/3 of the oval and create a round for the ducks head.
- Next with a little water stick the head to the body of the duck.
- The wings, bills and eyes for the ducks are made and assembled in the same way as the swans above!

Rabbits
- These are very similar to the ducks, using the white icing, create a small round oval, a small round for the head and an even small round for the tail.
- Apply a little water to head and tail and stick to the body.
- Cut a very small piece of icing for the ears, curving one end and one end flat. Stick this to the head using a little water - You may have to hold this for a few moments to stick!
- Draw on the bunny's face using the black piping icing.
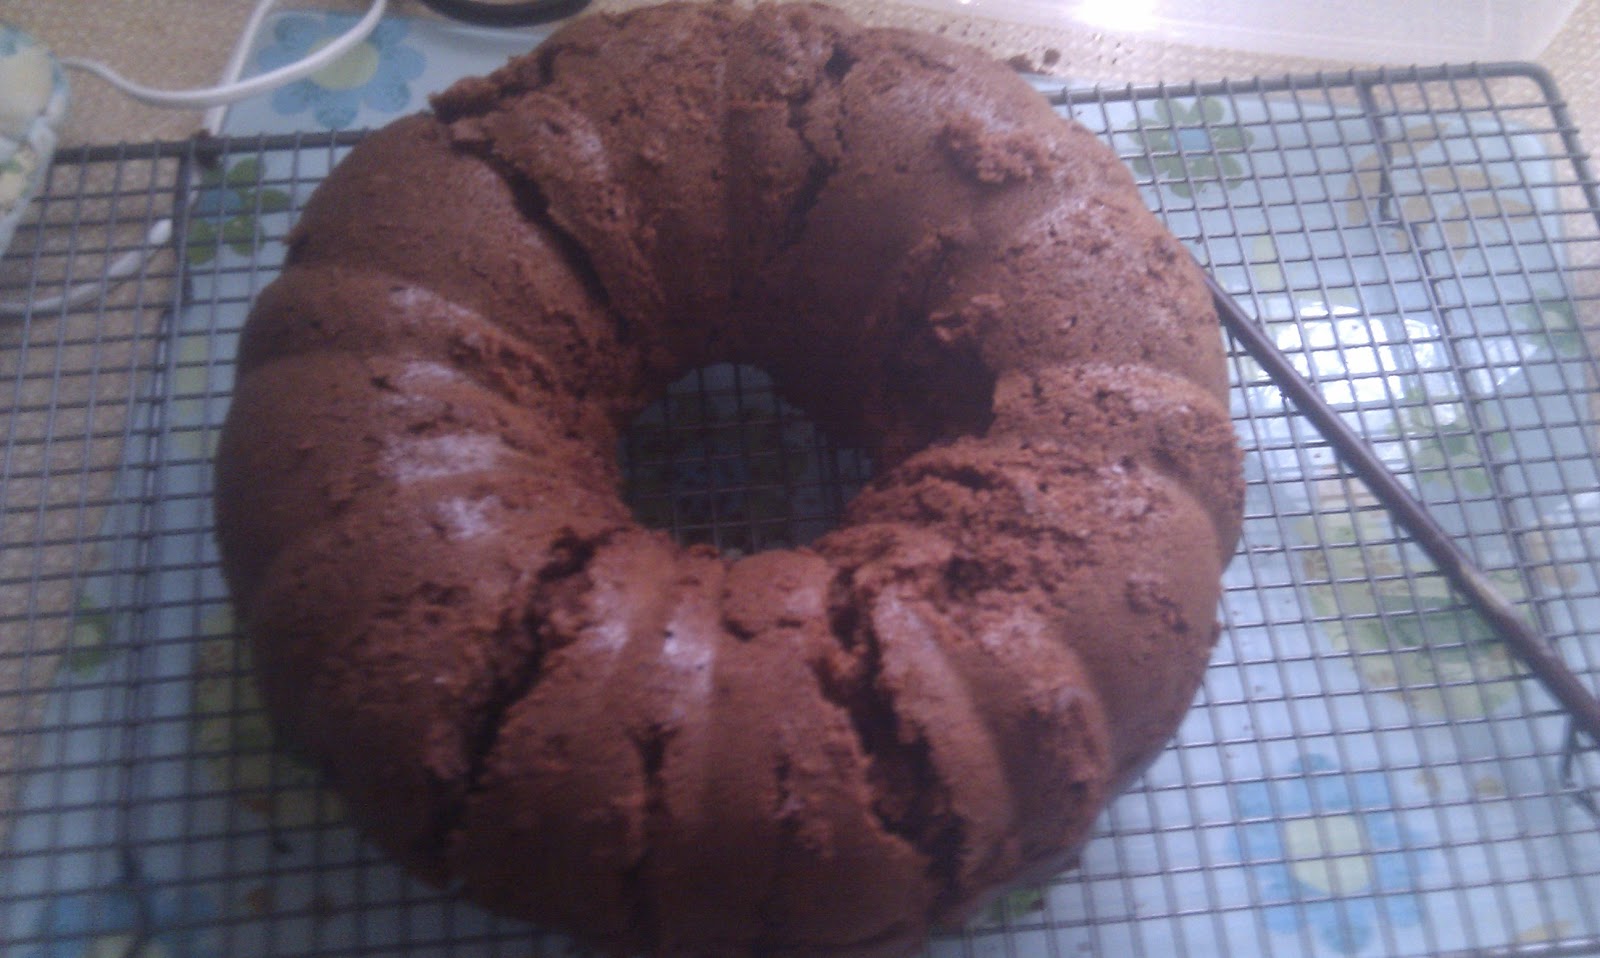
- Pre-heat your oven according to your cake reception and prepare your cake batter, lightly grease your tin, before adding the batter, then bake. The tin I use was non-stick so I found I didn't need to line it, but a tiny part did stick, as I missed a spot with the baking spray, it was easily fixable though! Once the cake is ready, transfer it to a wire rack to cool.
Once the cake is cool, it's time to make the butter cream! This is something that you will need to do to your taste as some prefer more icing sugar, some prefer more butter or runny or think icing.
- Place about half of the pack of butter to a bowl and beat it on high speed for a minute.
- Add a good sized amount of icing sugar to the butter and beat SLOWLY (unless you want a kitchen covered in powdered sugar!) Gradually increasing the speed, until you have a lumpy looking paste.
-At this point you need to gradually add the milk to create the smooth texture. Personally, I add about a tablespoon of milk to the mixture at a time until it gets to the consistency I want. If you find you add too much liquid/don't have enough icing you can always add more icing sugar/butter until its at the point you want it.
- If you want to flavour the icing, now is the time to add a few drops of it to the icing. Add the green food colouring and beat until it has been absorbed by the butter cream.
- Cut the cake in half, horizontally, spread a little of the jam on the half that you want to be the bottom cake and place it firmly on to the cake board/plate you are using (This will stop it sliding of the board!)
- Cover the bottom half in jam and sandwich the top of the cake onto the bottom.
- Using a fork, spread the green butter cream all over the cake, including in the hole in the middle. Pay special attention to coating this, otherwise the jelly will be in direct contact with the cake, and you may find it going soggy very quickly! Use the fork to create grass like texture. Once this is done, allow it to set for half an hour or so.

- Once the icing has set it's time to decorate! Place your icing animals in anyway you like around the 'lake hole'.
- Do the same with the flowers.
- Just before you serve the cake, remove the set jelly from the fridge, cut in to cubes, and carefully fill the 'lake hole'
And that's it! You're done!


No comments:
Post a Comment